In this article
- What Are Custom Properties?
- Standard Fields
- How To Create a Custom Property
- Custom Property Data Types
- Custom Properties In Lists
- Custom Properties In Forms
- Setting a 'Sort Order' for your Custom Properties
- Archive Your Custom Properties
- Updating your Contacts/Organisations with Custom Property Data
What Are Custom Properties?
Campus comes pre-loaded with a bunch of fields where information about your Contacts and Organisations is stored. You'll probably find that there are some fields you really wish were also included (but if you think about, would probably be pretty useless to other Campus users).
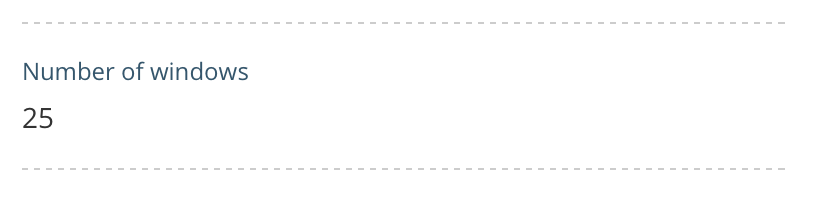
Take an example: You're a window cleaner working in London. One of the important things that you need to know when you're working on a relationship with your Contacts is how many windows their Organisation has. With Custom Properties you can easily create a field called 'Number of Windows'.
Similarly, if you sell Maths textbooks you might find it useful to find out and record what current textbook series your Contact uses with their students. With Custom Properties you'd just create a field called 'Textbook Used'.
Custom Properties are useful, relevant, data fields that you can use to record important information about your Contacts and Organisations. Very importantly you can use them to help nurture your relationships with your Contacts as well as super-segment, and super-personalise, your marketing. They can be used in your Forms module when building a marketing list and you also have them at your fingertips in the Contacts and Organisation View pages helping you keep your conversations relevant.
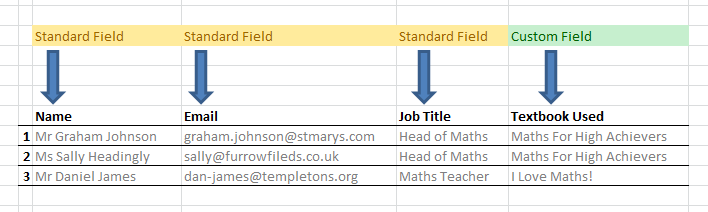
Standard Fields
These are the generic Contact and Organisation fields that come pre-loaded in your Campus plan:
Contacts
- Name (the Contact's full name e.g. 'Albus Dumbledore').
- Job Title (the Contact's job title e.g. 'Principal' or 'Marketing Manager').
- Email (the Contact's primary email address that you send correspondence and marketing to e.g. 'albus@hogwarts.org').
- Telephone (the Contact's primary telephone number e.g. '01634 678520′).
- Title (the Contact's title e.g. 'Mr' or 'Mrs').
Organisations
- Name (the Organisation's name e.g. 'Hogwarts School of Witchcraft and Wizardry').
- Sector (this will be either 'School' or 'Business').
- Type (helps drill down further what the Organisation does/is e.g. 'Academy Primary Aged' or 'Restaurant').
- Address (the Organisation's address. This includes: Address lines 1, 2 and 3, Town, Postcode, County, and Region).
- Telephone (the Organisation's general telephone number e.g. '01634 678523′).
- Email (the Organisation's general email address at which you might make a general enquiry).
- Website (the Organisation's website e.g. 'http://www.hogwarts.sch.uk').
How To Create a Custom Property
Custom Properties are super-easy to create. Go to your Settings module (by clicking on the Settings item in the dropdown menu underneath the user picture top right of your screen). Then select the Custom Properties tab. You'll then be fired over to the Custom Properties page.
Here you'll see either a list of your custom properties or a holding page asking you to get started.

Go ahead and and click on the Create Custom Property button and a slide in form will appear.

The first thing to decide is to tell Campus whether your Custom Property is relevant to your Contacts or your Organisations by selecting one of the two in the dropdown.
Organisation Custom Properties
These are data fields that relate specifically to an Organisation. For example 'Number of Windows', An Organisation only tends to have one set of windows and that number of windows isn't dependent on your Contacts. All of the Contacts in that Organisation would always be able to say, "Our Organisation has x number of windows".
Contact Custom Properties
These are data fields that relate specifically to a Contact. For example 'Textbook Used'. Different Contacts within a single Organisation might have different textbook preferences. One might prefer the 'I Love Maths' range and another might use the '1+2=3′ range.
If you're ever in any doubt ask yourself this question:
"Could different Contacts at the same Organisation be assigned different answers to my Custom Field question?".
If the answer is, "Yes" then you should create it as a 'Contact Custom Property'. If the answer is, "No" then create it as an 'Organisation Custom Property'.
Custom Property Name
Give your Custom Property a meaningful name and bear in mind that this name will be used throughout your plan.
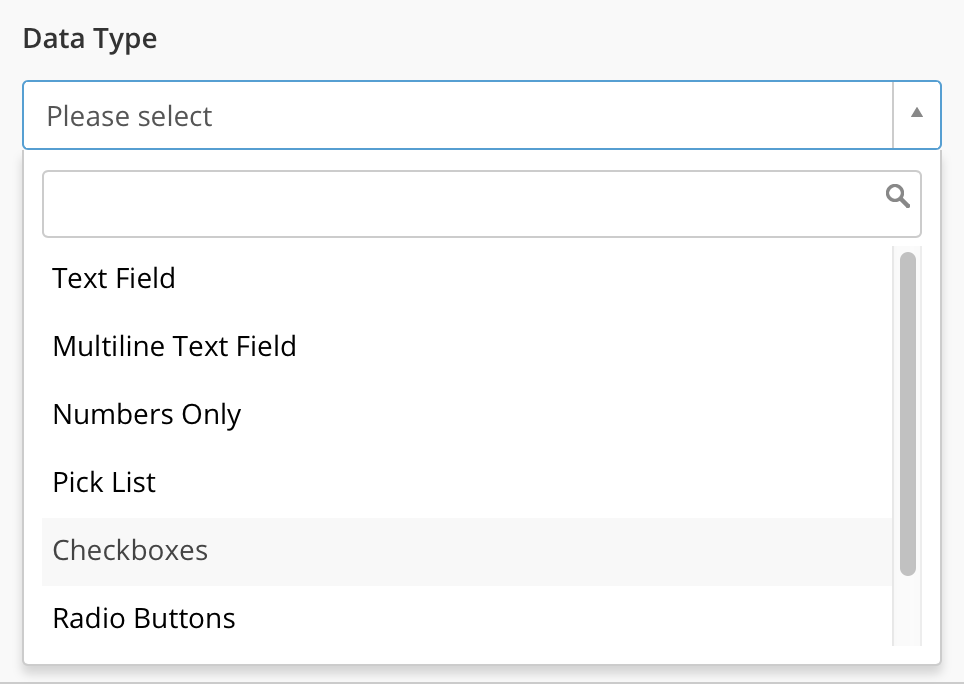
Choose Your Data Type
Finally you need to select and configure the data type your Custom Property will be. Click on the dropdown and you can choose from the seven data types.
Options
Depending on the Data Type you choose, you'll then get an Options box. Here you can put the options for your Radio Buttons, Checkboxes or Pick List:
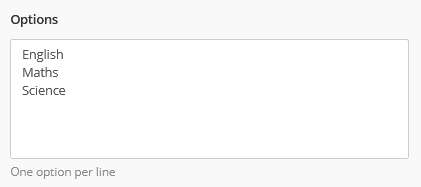
Note - Your Custom Property options cannot include commas.
Sort Order
If you have a preferred order of relevance for your Custom Properties (e.g. those which you would like to be able to view the easiest or use most regularly), you are able to order your Custom Properties to reflect this.
Once you have ordered your Custom Fields, these will be the order in which they appear on your Contact and Organisation view pages, as well as Form creation and Contact Lists, allowing you to find the data you need as efficiently as possible.
Available in Forms
Finally, you can decide whether you would like your Custom Property to be used externally or internally by choosing whether you would like it available when you are creating Forms.
If you leave the box ticked, your Custom Property will appear in 'Custom Properties' in Form Creation and if you leave it unticked, this Custom Property will only appear on your Contacts page and in Contact List creation.
Your Custom Property can regularly be edited, so if you find yourself using a Custom Property more often or would now like it to be available in your Forms, you can edit these functions accordingly.
Custom Field Data Types
Data types are basically the different formats your data can come in. It's important that you chose the best-fit data type for your Custom Property.
Text Field
The Text Field is the simplest data type. It allows you to store anything text or alphanumeric based.
Perfect for – a word, a phrase, a sentence.

Multiline Text File
The Multiline Text Field can contain many strings of text and numbers.
Perfect for – a group of sentences, a paragraph

Numbers Only Field
The Numbers Only Field can contain numbers and decimals.
Perfect for – counts of things, prices.

Pick List Field
The Pick List Field can house several different options from which the end-user can select one (or several if they hold down the 'Ctrl' button whilst clicking on them).
Perfect for – presenting a bunch of pre-determined multiple-choice type answers e.g. "What are your favorite colours?" Your pick list options could be: Red; Blue; Green.
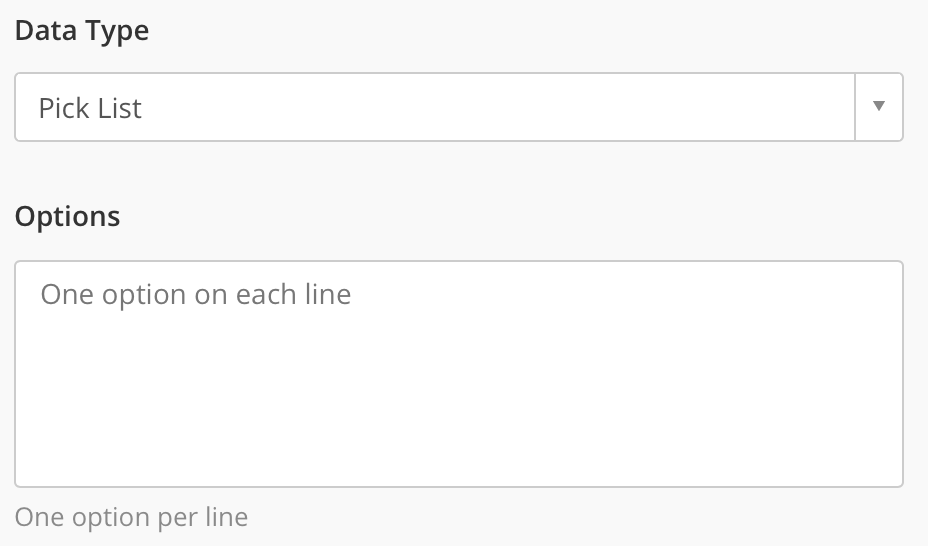
Note that when you set up your Pick List Custom Field you assign the options in the Options text area. So, following from the favourite colours example you would add in your options one per line.
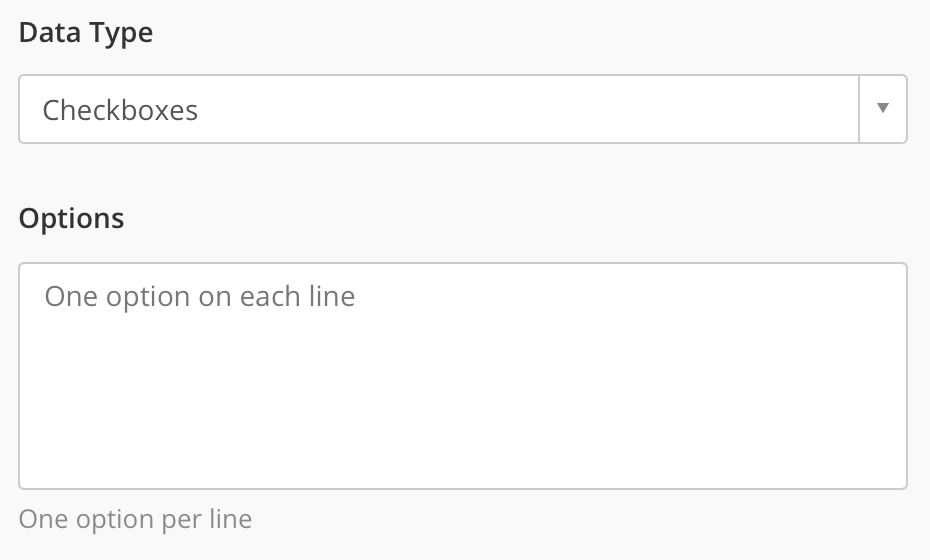
Checkboxes Field
The Checkboxes Field allows the end-user to select from a series of pre-determined options selecting one, many, or all options in the process.
Perfect for – presenting a bunch of pre-determined multiple-choice type answers e.g. "What are your favourite colours?" You checkbox options could be: Red; Blue; Green.
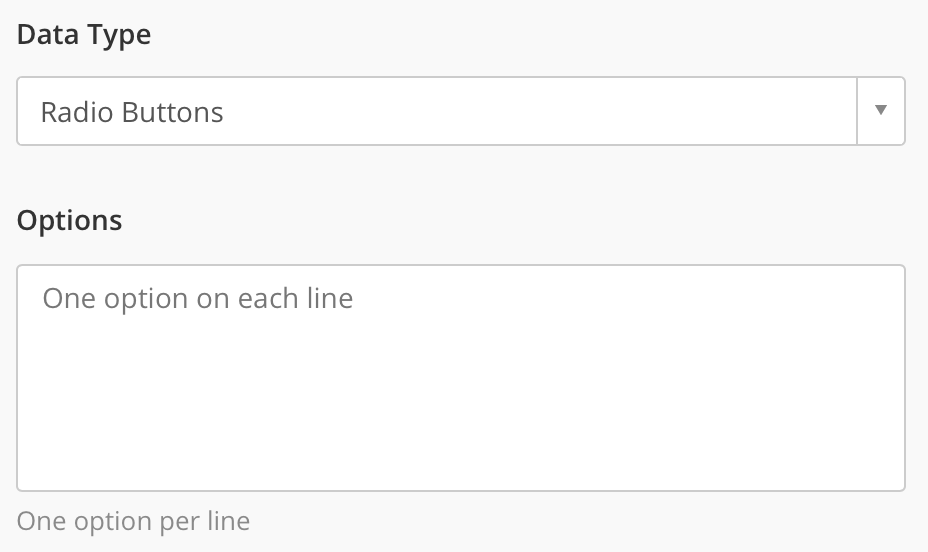
Radio Buttons Field
The Radio Buttons Field offer the end-user several different options from which only one can be selected.
Perfect for – presenting a list of things things where the answer can only be one thing "What is your sex?" You pick list options could be: Male or Female.
Date Field
The Date Field allows the end-user to insert a date (from a datepicker).
Perfect for – well… dates!

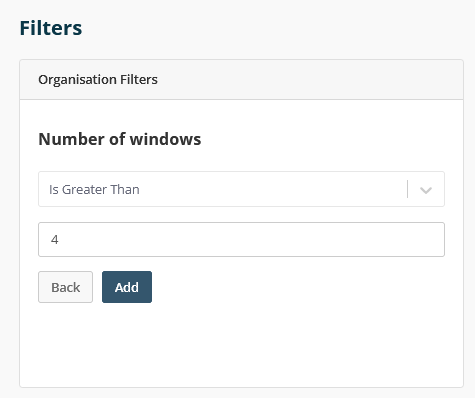
Custom Properties In Lists
Your Custom Properties can be used as criteria when filtering your Contacts and building a list. This will ultimately enable you to build super-specific marketing lists through which you'll be able to communicate with your Contacts in a very relevant way. In the example in the screen below this user is about to build a list of Contacts based on the number of windows at their Organisation.
Custom Properties In Forms
You can include any of your Custom Properties in any forms you build in Campus so you can capture really useful information from the contacts that fill them out.

Setting a 'Sort Order' for your Custom Properties
Once you've had your Campus Account for a period of time, you might find that you start to have lots of Custom Properties setup for the all the data you wish to store. At this point you may wish to give these Custom Properties an order of importance. By doing this, you're telling Campus which of these Custom Properties you wish to see first on a Contact or Organisation's page.
To set your Sort Order, start by heading to your Custom Property Settings. Once there, hover over one of the Custom Properties and click Edit. This should open up the right-hand side Edit Pane:
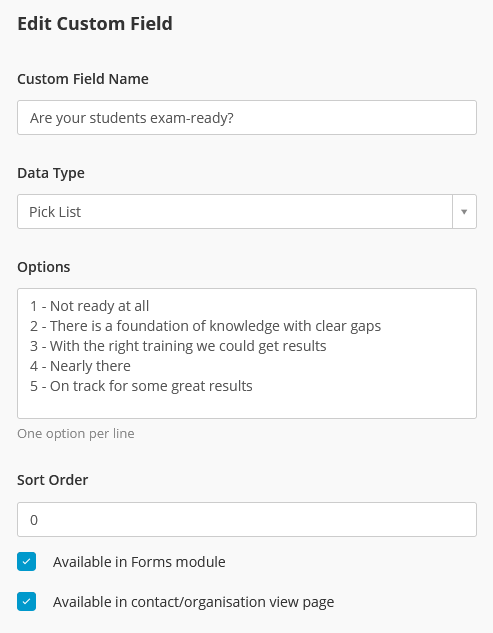
You'll notice in the image above there is a field for Sort Order (this is also available when you create a new Custom Field). In this field, you need to set your number - the lower the number, the more important the Custom Porperty is and the higher up it will be viewable on a Contact or Organisation's page.
Once you've decided on your number, hit Save.
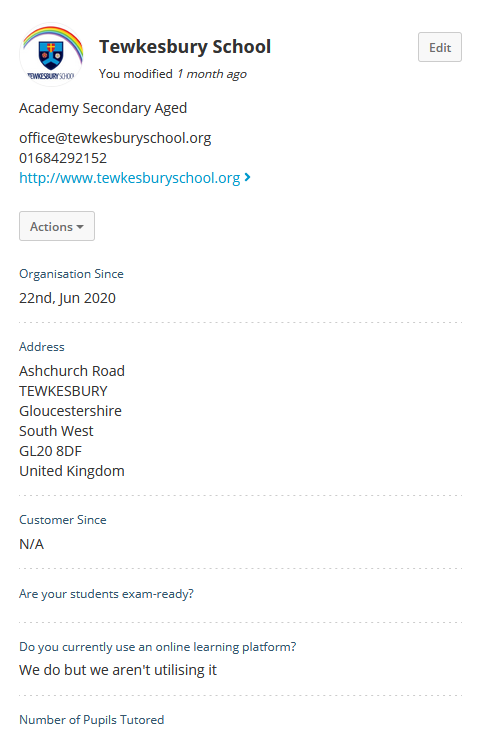
Now when we head over to a Contact or Organisation (or Edit a Contact or Organisation), the order of the Custom Fields will have changed so that those with a lower number are available to see or edit first:
Archive your Custom Properties
If you find that you have a certain Custom Properties which you utilise during certain months of the year, but rarely use over the other months, you can simply Archive that Custom Field.
Hover over the custom field name and click the Archive button.
Once archived, that Custom Field will no longer be visible in Form Creation, List Creation, or when viewing a Contact's Details.
If it then reaches a time when this Custom Property is now needed, all you need to do is click the Restore button and all of the relevant data will be restored.