Learn how to create and use day-to-day email templates in Campus
If you find you regularly send similar day to day emails out to your contacts then you should take advantage of the templates feature. This will save you having to type out the same or similar emails each time and instead will enable you to create the email once and reuse it as many times as you like going forward.
How to Create Templates
Click on the Speech bubble button and then select + Add new template.
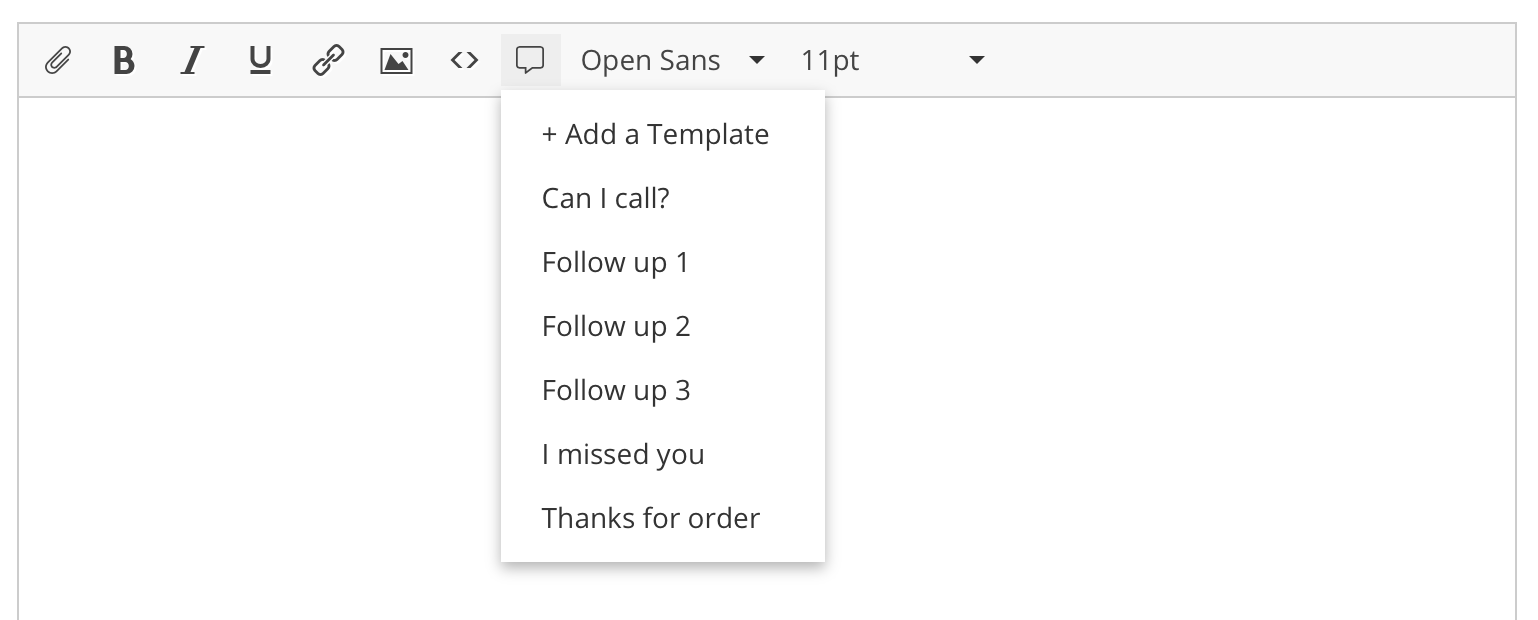
This will fire the template window where you can create an email that you can use again and again at the click of a button.
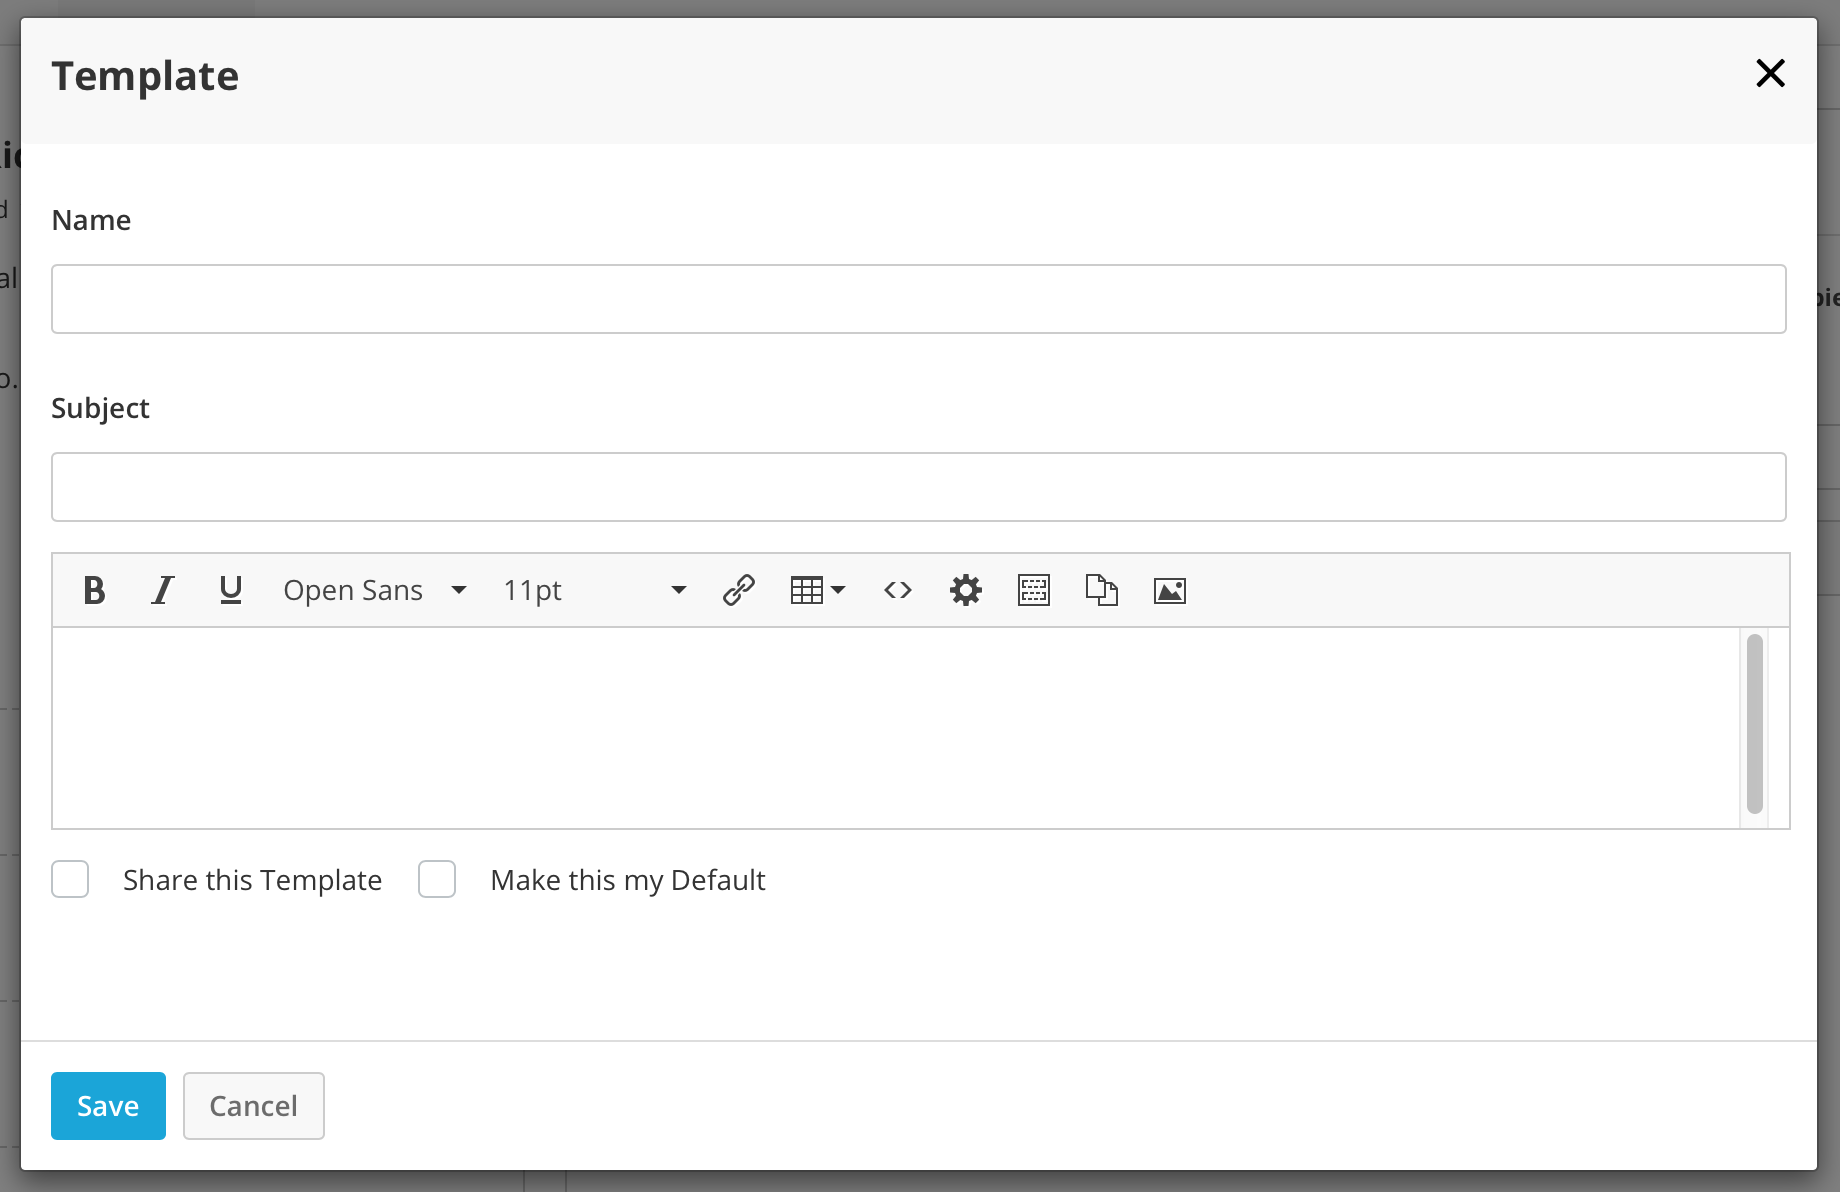
Once you've written it the final two things to do are:
- Decide if you want the rest of your team to have access to this particular template. If you do then tick the Share this Template checkbox.
- Decide if you want the template to be your 'default' template which will mean this template will be automatically loaded each time you open the email pane. If it is then tick the Make this my Default checkbox.
Once you've then clicked Save Template this window will close and you'll be able to select the template from the drop-down list in your email pane.
Utilising Your Day To Do Email Tools
There are loads of nifty tools available to use when creating any 1-2-1 emails. Here's how to use them.
B, I and U
You probably come across these well-known tools regularly but in case you don't; the B is for making your text Bold, the I is for making your text Italic and the U is for Underlining your text.
Font Family
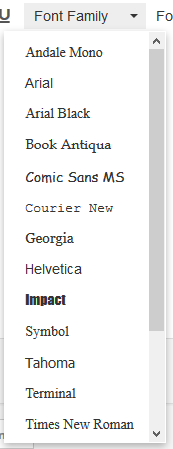
Here you can change the Font of your text. When clicking on Font Family, you get a preview of the text options in a drop-down (shown below).
Font Sizes
Click on Font Sizes to choose how big (or little) you want your text to be.
Insert/Edit Link
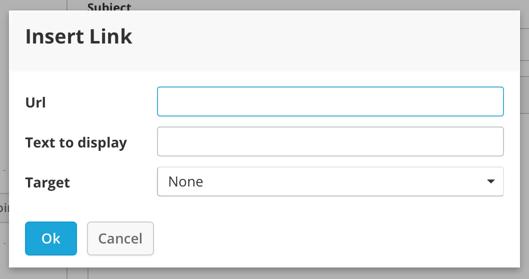
Highlight the text you'd like to link to a web page and choose the tool that looks like a link. This brings up a pop up page where you can put your URL, change the display text and decide whether the contact is redirected to a new window when they click the link.
Insert table
When clicking the button that looks like a grid, you can insert a table into your email. Choose from the options in the drop-down to customise the size and properties.
Source code
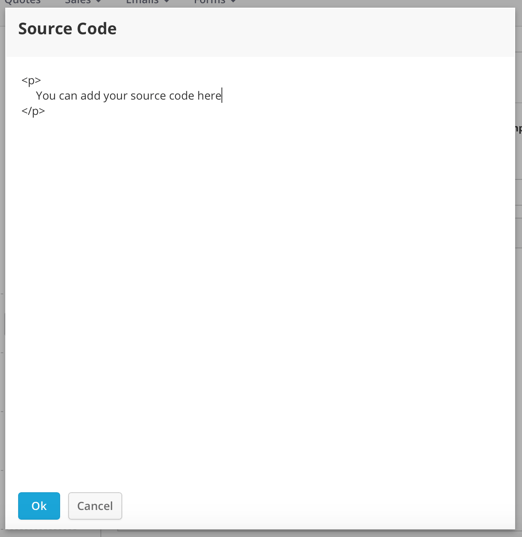
There is the option to insert the source code of a predesigned email. To do this you'll need to copy the desired email source code, click the button with two opposite-facing arrows, select the text in the pop-up box and replace it with the source code of your predesigned email.
Insert a Merge Tag
You can personalise your emails by inserting merge tag (previously called 'custom variables'). You can insert a merge tag into email templates by clicking the button to the right of the document properties button. Campus will link the name to the contact page you are on, helping you personalise each email template.

Insert a File Link
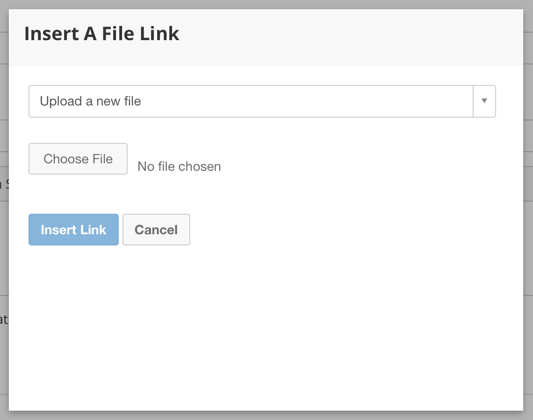
Enhance your email by uploading a new file link to your email, simply choose the button that looks like two pieces of paper. The image can be selected from your Campus file library or by uploading a new file. The Link Label allows you to choose how the image link is shown in the email.
Insert an Image
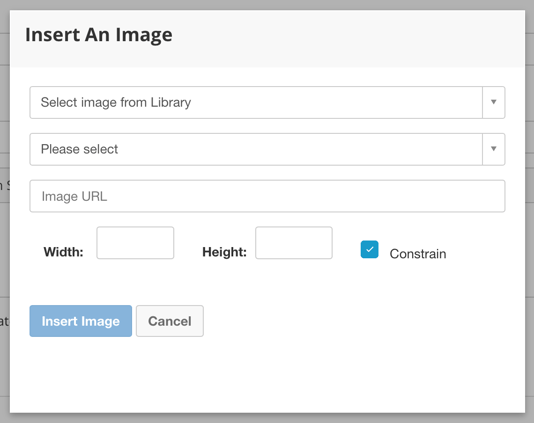
Similarly, you can insert an image into your email. These can be from your library, a new image, or a URL, and you can edit the image URL, width, and height.
