Learn how to import your existing contacts into Campus
In this article
To help you ensure your data is in the right format, Campus comes with an Excel spreadsheet template for you to copy your existing contacts data into. If you use this Excel file to tidy up your data before you attempt an import everything should run super-smoothly for you.
Why Import Your Contacts?
Important!
It's really important that if you want to import contacts that you've imported your organisations first.
Many of our users migrate over from different CRM systems to Campus and so already have some data that they want to put in without having to enter every one of their contacts manually. This is where the contact import feature comes in.
Before we start, now might be a good opportunity for you to refresh in your mind exactly what a contact is. Contacts are the people that work at your organisations and who have specifically agreed to receive your marketing and/or you have a business relationship with (you have quoted for them, or invoiced them, in the past).
Formatting Your Raw Data
It's super-important that your contact data is nice and tidy and formatted correctly before you attempt to import it. Poorly formatted raw data will remain poorly formatted after it has been imported and will cause you a world of pain going forward… so, it's really important that you follow the help guide below to the letter.
There are 10 standard contact fields in Campus that you can import your data into. You're also able to upload any number of contact Custom Fields too (we'll cover that later). First up, here is a list of the 10 standard fields and some notes on each:
Business/Teacher
Simply the contact's type – are they a business person or a teacher/educator?
If they are a business person they'll work at a business so include "Business" in the column and if they are a teacher/educator they'll work at an educational institution so include "Teacher" in this column. If you leave this blank, Campus will default and set the new Contact up as a Business.
Title
The official title of your contact. Campus comes with plenty of default titles so try to match up to these if you can. They are:
Mr, Mrs, Miss, Ms, Doctor, Reverend, Captain, Professor, Father, Dame, Canon, Colonel, Sir, Lord, Madam, Madame, Major, Monsieur, Rabbi. Data example: "Mr" / "Mrs".
First Name
Simply the contact's first name.
Data example: "Homer" / "Lois".
Surname
Simply the contact's last name.
Data example: "Simpson″ / "Griffin".
Organisation
This is the name of the organisation the contact works at.
Data example: "Fox Network".
Organisation Reference
This is the Organisation's Email, Telephone or Post Code, and is used to match the Contact with the Organisation they work at. It needs to match the associated field you used when uploading your organisations so that Campus can link the contact to the right organisation.
Data example: "01684 297887" / "office@fox.com".
Job Role
This is the contact's job role.It's good practice to keep these as neat and tidy as you can to make list building easier in the future.
Data example: "Director" / "Sales Rep" / "Principal".
Telephone
Ensure this is the contact's telephone number NOT the organisation's. You can leave this blank if you like.
Data example: "01684 297887″.
The Contact's email address. This is the address you'll send your email marketing to.
Data example: "homer@fox.com″.
Marketing Status
You may wish to import some contacts who have already unsubscribed from your marketing. If so, simply include the word " Unsubscribed" in this column. Otherwise leave it blank.
Data example: "Unsubscribed".
Owned By
The full name of the User that is considered the owner of this Contact.
Data example: “Homer Simpson”.
Engagement Method, Processing Ground and Engagement Date
These three go hand-in-hand, you can allocate an Engagement Method with its Processing Ground as long as you have it set up in your Data Processing Settings.
Contact Custom Properties
You can then add any contact custom properties as long as you have added your list of them to Campus in your Settings module.
Organising Your Custom Properties
Once you've formatted your contact data correctly, and also included any contact custom properties at the end of your import CSV file. Before you go ahead and upload this contact data it's important that you set up your custom properties in Campus. This will mean that your custom fields will get uploaded too.
All you need to do is add your custom properties over in the Contacts Settings Page. There is a help article dedicated to getting this right here.
All you need to do is add your custom fields over in the CRM Settings page.
The Import
It's now time to import your contact data into Campus.
Step 1
Go to your Account module (by clicking on the Account item in the dropdown menu underneath the user picture top right of your screen). Then select the Your Data item in the submenu and then the Import item in the dropdown.
Once there click on the Import Contacts box.

Step 2
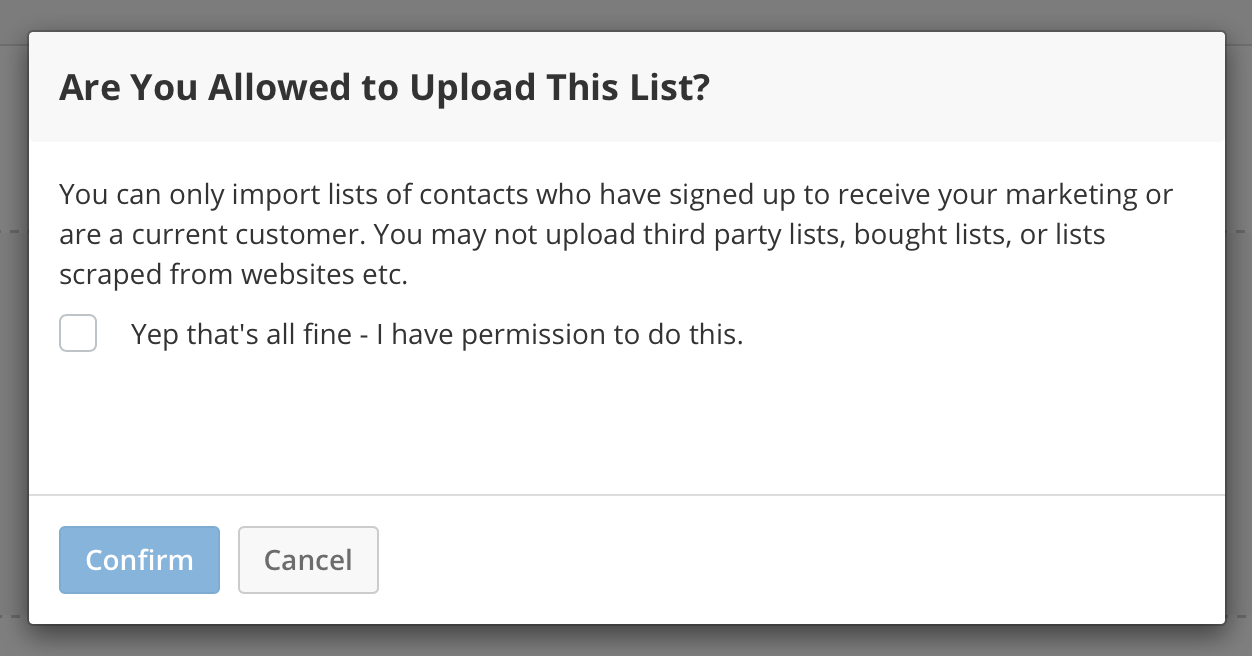
You'll now be faced with an important notification:

It's important that you comply with this statement – by ticking the box and confirming, you are confirming that the list of contacts you are about to import was gathered in accordance with data protection principles. If you do not agree you will be unable to upload your contacts.
Step 3
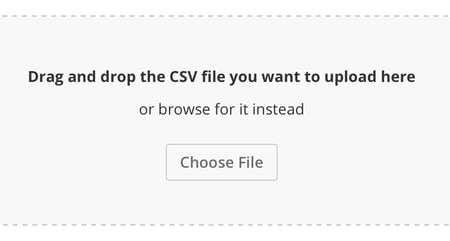
Select your CSV by clicking on the Choose File button.

Then locate your Contacts Import CSV file on your computer.
Step 4
Next, review the Skip the first row when importing checkbox. If your CSV has a header row (which if you have used the Excel data import template to format your data it will have) then leave this ticked (it's ticked by default).

Once you've done this click the Next button in the wizard at the bottom of the screen.
Step 5
Now you need to match your fields with the fields available in Campus. If you have used the template to format your data then Campus will link up these fields for you. If you haven't you need to match them up manually. Don't forget to also match up any custom properties you want to import. If you're finding there is no option to match your custom properties with then go back and review Getting Your Custom Properties Sorted above.
Once all your fields are matched you can click on the Next button and the import will begin.
During the import process the following happens:
- Campus creates an individual record and page for each of your contacts.
- Campus links each of your contacts to their organisation.
- Campus notes whether each Contact is an educator or a business person.
- Campus de-dupes your contacts data – it will not import the same contact twice leaving you with a nice clean list.
Now just sit tight and watch your contacts import.