Learn how to set up your Campus Sales module
Note
Only Admin users and Manager users have access to the Money Module Settings.
In this article
- Accessing Your Sales Settings
- Setting up Your Quotes
- Setting up your Sales
- Organising Your Payment Types
- Organising Your Tax Rates
- Managing Your Products
Accessing Your Sales Settings
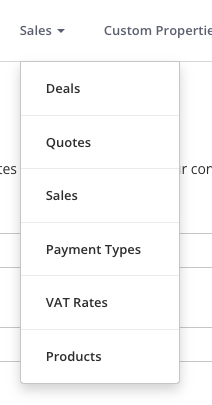
Go to your Settings module (by clicking on the Settings item in the dropdown menu underneath the user picture top right of your screen). Then select the Sales item in the submenu you'll see a dropdown list of all the sales settings pages.
Setting up Your Deals
Click on the Deals item in the dropdown menu and you'll head to the Deals Settings page. Here you can set your Deal Types and Deal Lost Reasons.
Find out more about Deal Types here, and about Deal Lost Reasons here.
Setting up Your Quotes
Click on the Quotes item in the dropdown menu and you'll be fired to the Quotes Settings page. Here you can tell Campus how your Quotes should work.
Decide whether you want your quote numbers to auto-increment. If you are unsure it's best to leave this ticked.

If you already have a quote numbering system in place you'll want to tell Campus what the next quote number should be. So, for example, if your next quote should be 'QUO53-SP' then you'd put '53' into this box because '53' is the actual number included in the quote number.
When setting your quote length leave room to grow. For example, if you take the above example and you left the Quote Number Length as the default '7' your invoice number would show as: QUO0000053 leaving you with space to create a whole bunch of quotes (nearly 10 million of them!). We always recommend you leave it as the default '7'.
If you usually prepend and append your quote numbers with information e.g. QUO0000053-TE then you'd add 'QUO' into the Quote no. starts with box and '-TE' into the Quote no. ends with box.

Once you're done click on the Update button.
Setting up Your Sales
Click on the Sales item in the dropdown menu and you'll be fired to the Sales Settings page. Here you can tell Campus how your Sales and invoicing should work.
Credit Terms
Set your default credit terms. Campus's default is 30 days.

Invoice Numbers
Decide whether you want your invoice numbers to auto-increment. If you are unsure it's best to leave this ticked.

If you already have an invoice numbering system in place you'll want to tell Campus what the next invoice number should be. So for example. If your next invoice should be 'INV34-SP' then you'd put '34' into this box because '34' is the actual number included in the invoice number.
When setting your invoice length leave room to grow. For example, if you take the above example and you left the Invoice Number Length as the default '7' your invoice number would show as: INV0000034 leaving you with space to make a whole bunch of sales (nearly 10 million of them!). We always recommend you leave it as the default '7'.
If you usually prepend and append your invoices with information e.g. INV0000034-OICE then you'd add 'INV' into the Invoice no. starts with box and '-OICE' into the Invoice no. ends with box.

Once you're done click on the Update button.
Organising Your Payment Types
Campus needs to know what payment types you accept when you take payment for the things you sell.
Click on the Payment Types item in the dropdown menu and you'll be fired to the Payment Types Settings page. Here you'll see a list of your current payment types, or if you don't have any yet a Get Started button.

You can add a payment type by clicking on the Create Payment Type button which will fire a slide-in form for you to fill out.
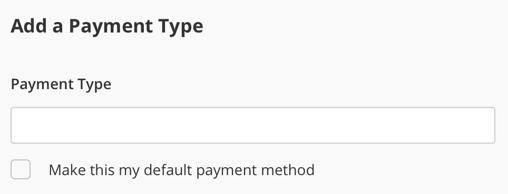
You can also edit and delete your payment types. Simply click on the Edit button when you hover over a type to edit it, or on the Delete button to delete it.
Organising Your VAT Rates
Campus needs to know what tax rates you apply to the things you sell.
Click on the VAT Rates item in the dropdown menu and you'll be fired to the VAT Rates Settings page. Here you'll see a list of your current tax rates, or if you don't have any yet a Get Started button.

You can add a VAT rate by clicking on the Create VAT Rate button which will fire a slide-in form for you to fill out.
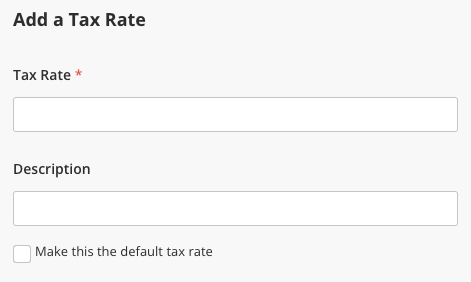
You can also edit and delete your VAT rates. Simply click on the Edit button when you hover over a rate to edit it, or on the Delete button to delete it.
Managing Your Products
Campus needs to know what products or services you sell so you're able to create quotes and invoices.
Click on the Products item in the dropdown menu and you'll be fired to the Products Settings page. Here you'll see a list of your current products, or if you don't have any yet a Get Started button.
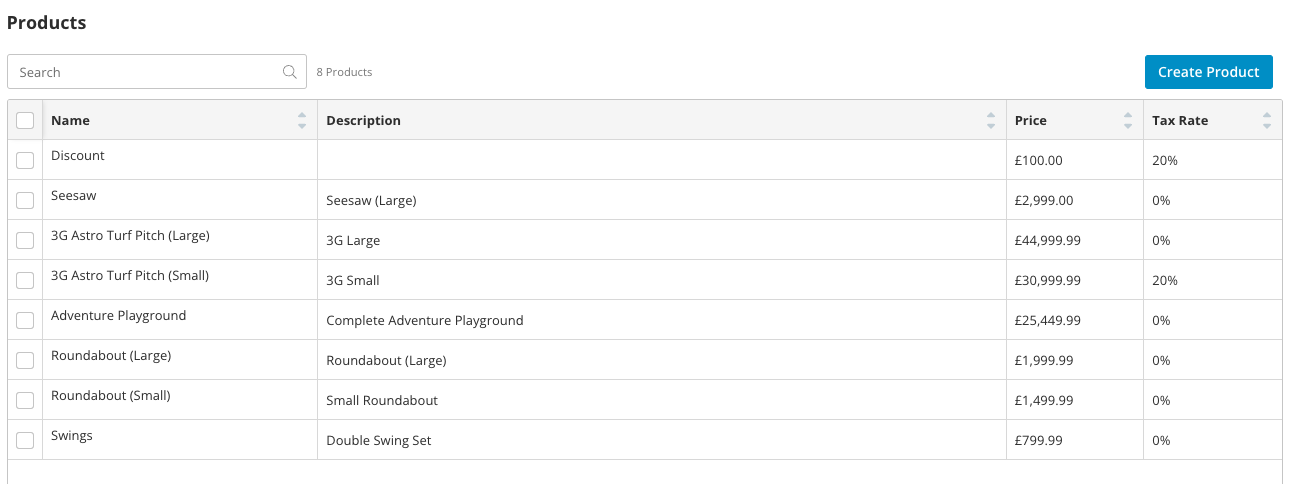
You can add a product by clicking on the Create Product button which will fire a slide-in form for you to fill out.
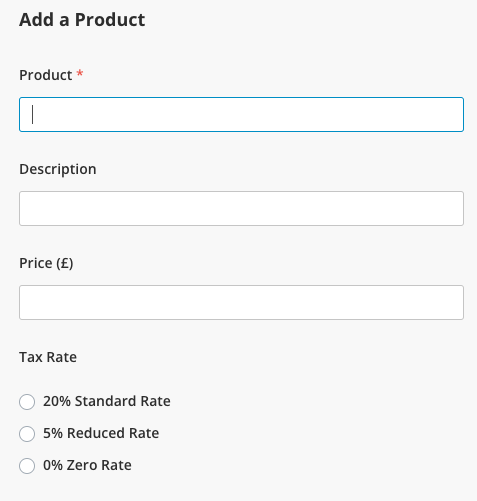
You can also edit and delete your products. Simply click on the Edit button when you hover over a product to edit it, or on the Delete button to delete it.